Zapier is an online automation tool that easily connects your favorite apps. With Zapier integration you can automatically pull content from other apps straight into your sked library.
For example if you work with a photographer that uploads assets to a Google Drive folder periodically, you could have these images automatically be added to a Sked media collection.
Watch this video to learn how:
Or follow the step-by-step below.
Note: If you cannot find the Sked app on Zapier, you’ll need to accept the invite to use the beta version of the Sked Zapier app here.
To create a Zap (i.e. an automated workflow within Zapier), you’ll need to create a Trigger (“When this happens…”) and an Action (“Do this…”).
Create a Trigger
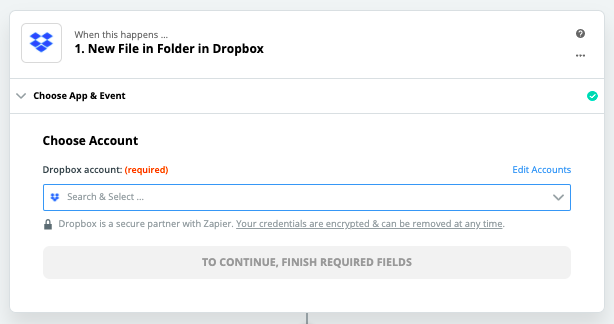
Log into Zapier and click on Make a Zap.
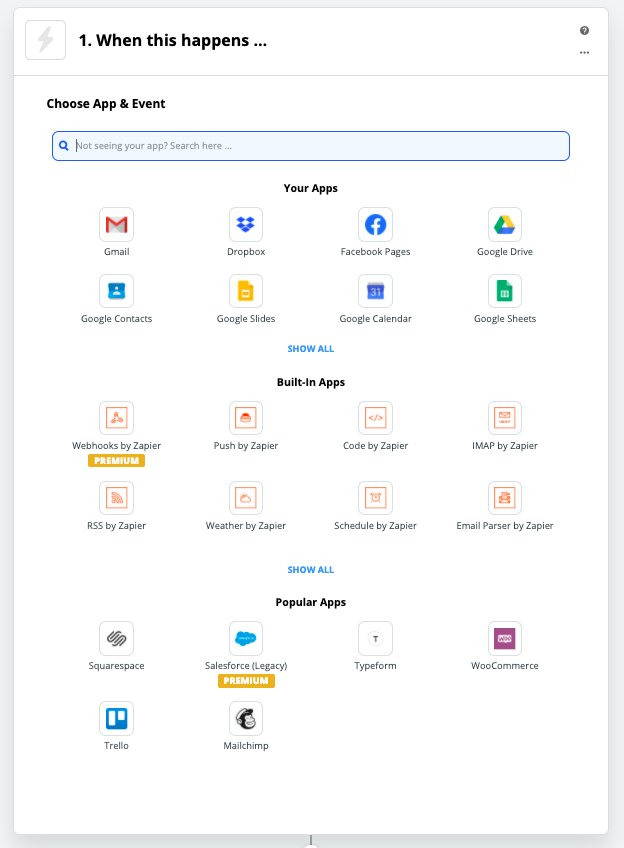
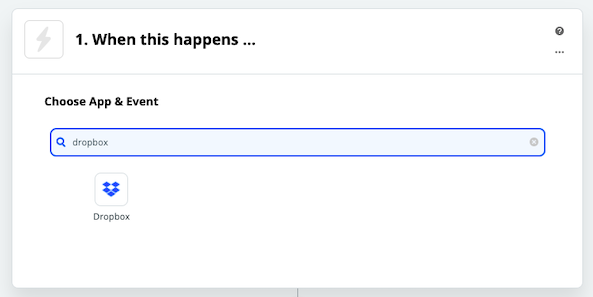
Let’s say you want your Zap to save every image added to Dropbox into the Library. To do this, you should search for and select Dropbox as the Trigger App.
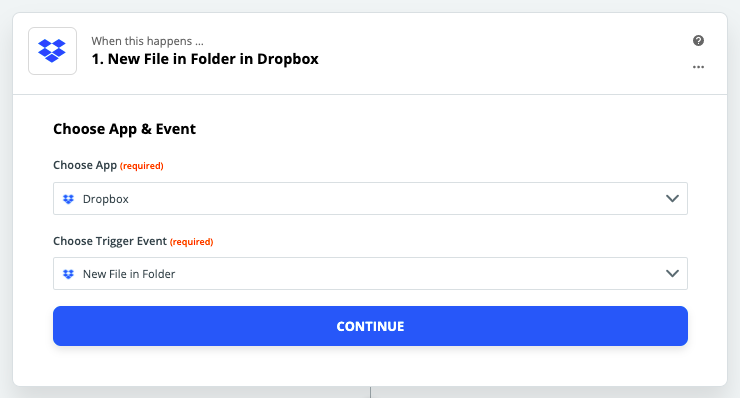
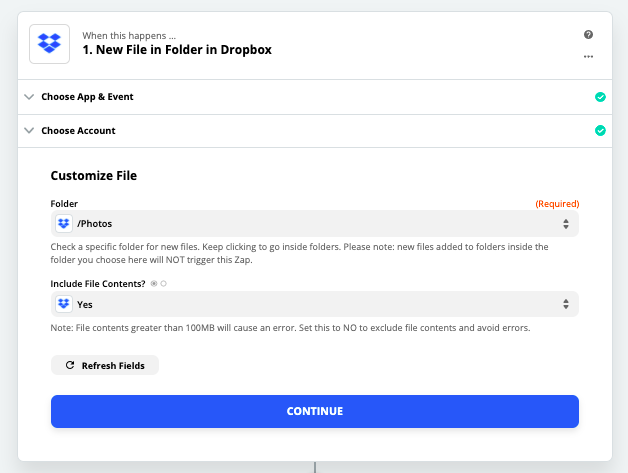
Now you can select a Trigger Event. In this case, it will be “New File in Folder” because you want to save every file added to Dropbox into the Library. Each Trigger App has its own list of Trigger Events.
You may then be asked to log into your Dropbox account.
Once you’ve logged into your Dropbox account, you’ll see options to customize the Trigger Event settings. For the “Folder” field, pick the Dropbox folder that you’d like to use as the source of the asset. Picking “/” indicates that you’ve selected the root folder and would like to have any assets added into any folder in your Dropbox account copied over into the Library. If you have a specific folder called “Photos” then you should select the “/Photos” option. This will add any assets you add into the Photos folder into the Library. We recommend setting “Include File Contents?” to “Yes” as this will allow file specific attributes to be made available (e.g. file name, size, etc.) in future steps.
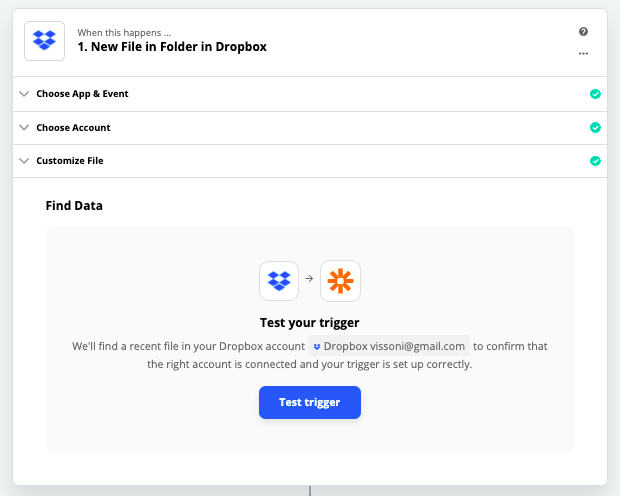
Clicking on Continue will complete setting up the Trigger and start the process of testing whether the Trigger was properly set up. We recommend testing the Trigger to verify that Zapier is able to connect to your Dropbox account.
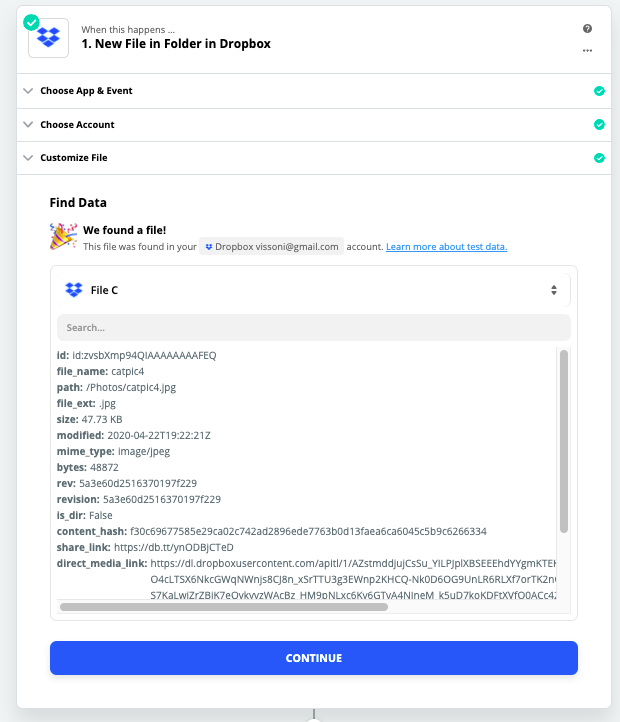
If the test is successful, you’ll see a success message per below screenshot.
Create an Action
Clicking on Continue begins the add Action workflow. If you do not see the Sked Social Zapier app when searching for it, you will need to accept the beta testing invite on this link.
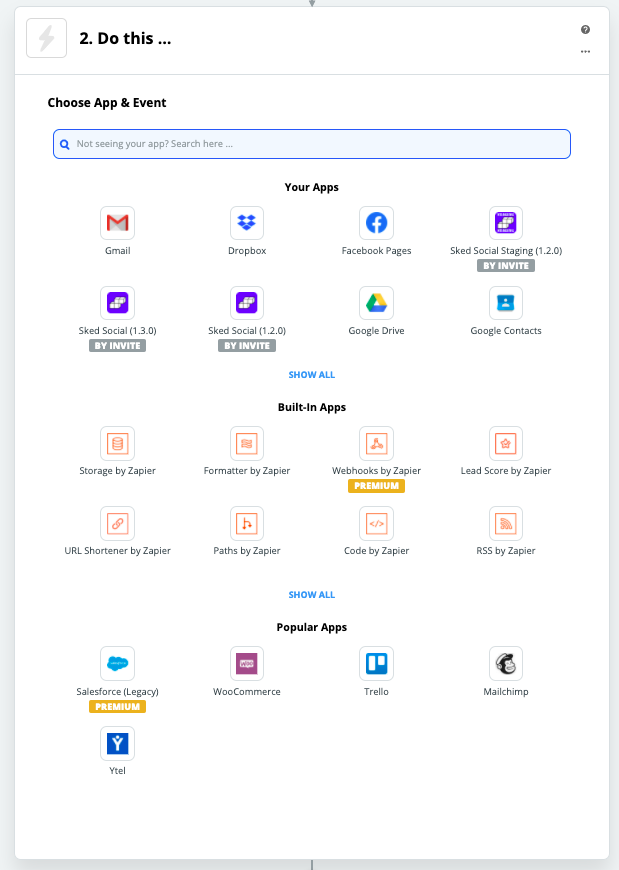
Select the “Sked Social” Zapier app as the Action app. You should now see a “Choose Action Event” dropdown, with the “Add Content” option selected.

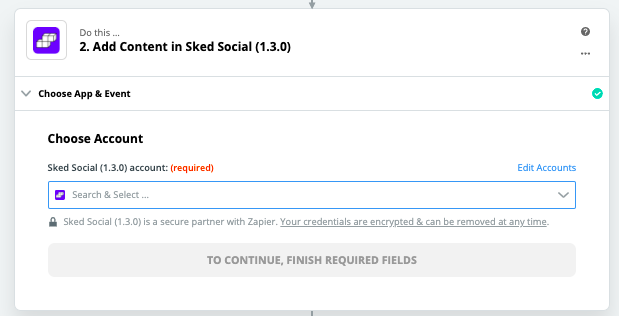
On clicking Continue, you should see a prompt to connect your Sked Social account with Zapier.
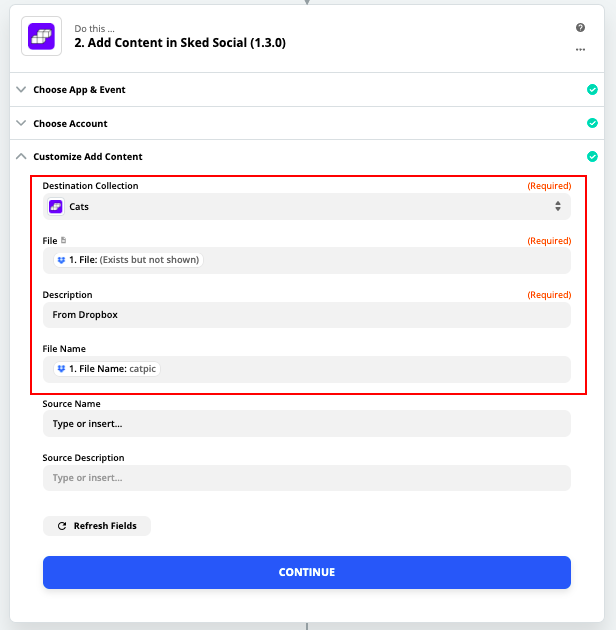
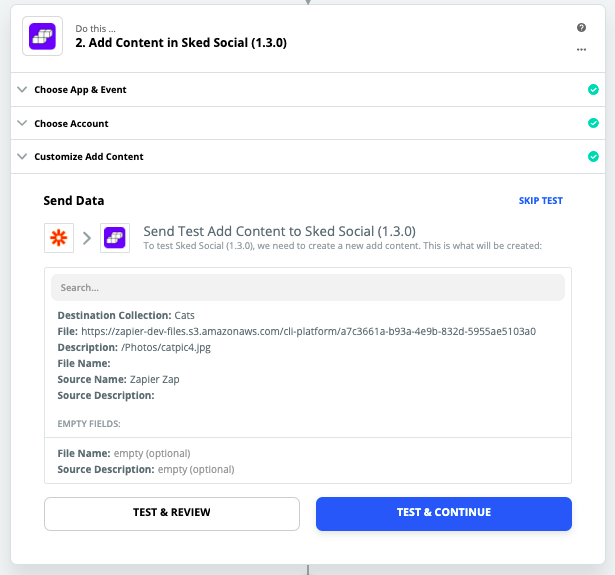
After successfully connecting your Sked Social account, you’ll need to specify values for each of the three fields shown in the following screenshot: Destination Collection, File, and File Name.
“Destination Collection”: specify which Collection within the Library you would like to add assets to. This has been set to the “Cats” collection in the following screenshot.
“File”: specify which data field points to the actual file you would like to add to the Destination Collection. This option should be set to “File (Exists but not shown)” as shown in the following screenshot.
“Description”: populates the “Description” text box which is visible when viewing an asset on the Library. This has been set to “From Dropbox” in the following screenshot, but any text value can be used.
“File Name”: Sets the filename to be used when saving the file into the Library. This should be set to “File Name” as shown in the following screenshot.
In the example below, we are asking Zapier to save any asset added to the Dropbox folder “Photos” into the “Cats” Collection in the Library, use the “From Dropbox” text to populate the “Description” text box, and use the same filename.
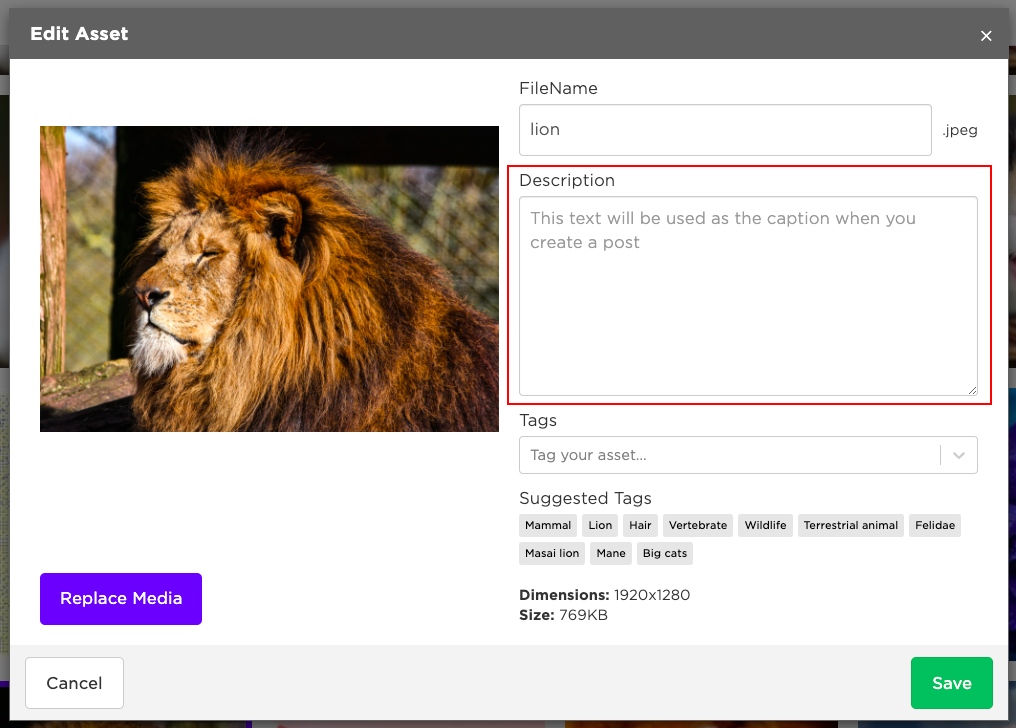
You can see where the “Description” value can be viewed for a specific asset within the Library, in the following screenshot.
Once done, click on Continue to complete setting up the Action. This will take you to the final step of the process, which is to test the complete workflow including Trigger and Action.
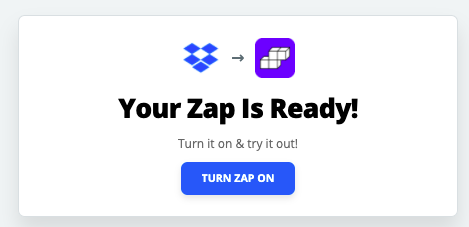
Once you’ve successfully tested the Zap, your Zap is ready to be switched on.